Designing an Enclosure for Your AI or Electronics Project
You have finished the electronics.
Your Raspberry Pi works.
The Arduino controls the sensors.
Your AI model is running.
Now you need to put everything inside a real product.
This is where many hardware projects discover that an enclosure is much more than a box around electronics.
A good enclosure must consider:
PCB mounting
Connectors and cable access
Heat dissipation
Cooling airflow
Assembly
Fasteners
Manufacturing process
Future production quantity
A design that looks excellent in CAD can still be unnecessarily expensive—or difficult to manufacture.
1. Don't Choose the Manufacturing Process Too Early
One of the first questions should be:
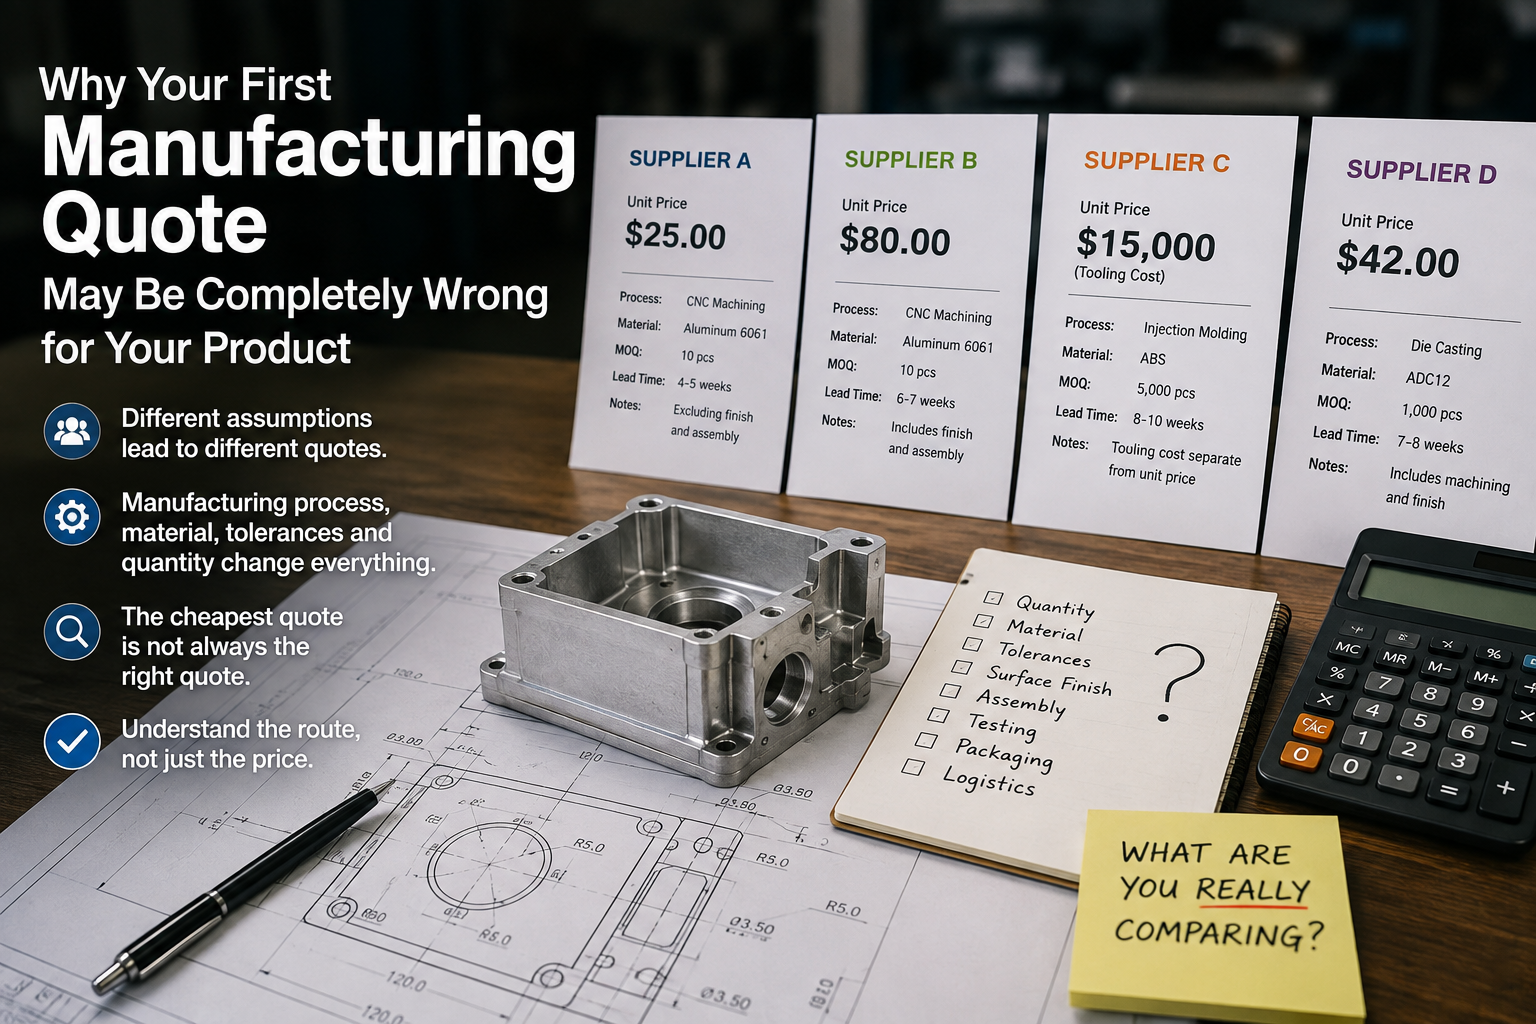
How many units are you planning to produce?
For a prototype or small batch, possible options include:
CNC machining
Sheet metal
3D printing
For larger quantities:
Plastic injection moulding
Die casting
may become more economical.
For example, a startup producing 10 prototype units should not automatically design the enclosure around the same process it plans to use for 10,000 units.
The manufacturing route should be part of the product-development discussion from the beginning.
2. Design the PCB Mounting Before Designing the Outside
A common mistake is designing the enclosure shape first and then trying to fit the electronics inside.
Start with:
PCB dimensions
mounting-hole locations
connector positions
battery location
antenna clearance
cable routing
access for assembly
For a CNC-machined aluminium enclosure, standoffs can often be machined directly into the housing.
For injection moulding, bosses and ribs need to be designed for the moulding process.
The outside appearance is important.
But the internal architecture usually determines whether the enclosure is practical to manufacture and assemble.
3. Don't Forget Heat
AI and computing hardware can generate significant heat.
A Raspberry Pi, processor module, power electronics or edge-computing board may require more than ventilation holes.
The enclosure material can become part of the thermal design.
For example:
Plastic enclosure → electrically insulating, lightweight
Aluminium enclosure → can also act as a heat-dissipation structure
But simply putting electronics inside an aluminium box doesn't automatically solve the problem.
You may need to consider:
thermal pads
heatsink contact
airflow
vent location
fan mounting
separation between heat sources and sensitive components
The mechanical design and electronics thermal design should work together.
4. Connectors Are More Difficult Than They Look
USB.
HDMI.
Ethernet.
Power connectors.
Antenna connections.
Buttons.
Displays.
On the CAD model, these may look like simple rectangular cutouts.
In production, their positions need to match the actual PCB assembly.
The important question is not only:
“Is the hole large enough?”
It is:
What tolerance can the PCB position have relative to the enclosure?
A poorly controlled tolerance stack-up can result in a connector that technically fits in CAD but does not align correctly in the physical product.
This is particularly important when multiple PCBs, brackets and enclosure components are assembled together.
5. Think About Assembly Before Finalizing the Design
Ask yourself:
How will someone actually assemble unit number 500?
Will they need:
special screws?
access to screws from inside?
a separate fixture?
adhesive?
threaded inserts?
multiple assembly operations?
A beautiful enclosure that takes 30 minutes to assemble may be acceptable for five prototypes.
It becomes a serious manufacturing problem at 1,000 units.
A good design should consider:
assembly time + repeatability + serviceability.
6. CNC Machining Is Excellent for More Than Prototypes
Many people associate CNC machining only with industrial metal components.
But it can be an excellent solution for:
premium aluminium enclosures
prototype hardware
low-volume production
custom AI devices
robotics controllers
test equipment
specialized electronics
CNC machining allows features such as:
precise PCB pockets
integrated mounting bosses
connector cutouts
threaded holes
engraved markings
custom heatsink features
For low-volume products, it can eliminate the upfront cost and lead time of injection-mould tooling.
From Electronics Project to Real Product
The challenge for many creators is that they understand the electronics extremely well—but manufacturing an enclosure requires decisions about:
materials → process → tolerances → thermal management → assembly → surface finishing → production quantity.
That is where involving manufacturing engineers early can save significant redesign work later.
How HongYing Can Help
At HongYing, we work with projects that need to move from an idea, CAD model or prototype toward manufacturable hardware.
Depending on the product and production quantity, we can coordinate the appropriate manufacturing route through our manufacturing network in China—including:
CNC-machined enclosures
Sheet-metal housings
Injection-moulded plastic components
Custom mechanical parts and assemblies
The important question isn't:
“Which factory should make my enclosure?”
It should be:
“Which manufacturing process makes the most sense for this product?”
If you're developing an AI device, robotics product, Arduino project, Raspberry Pi product or custom electronic hardware, send us your CAD model or concept.
We can help evaluate the manufacturing route before production begins.